HONTEC RS EVO

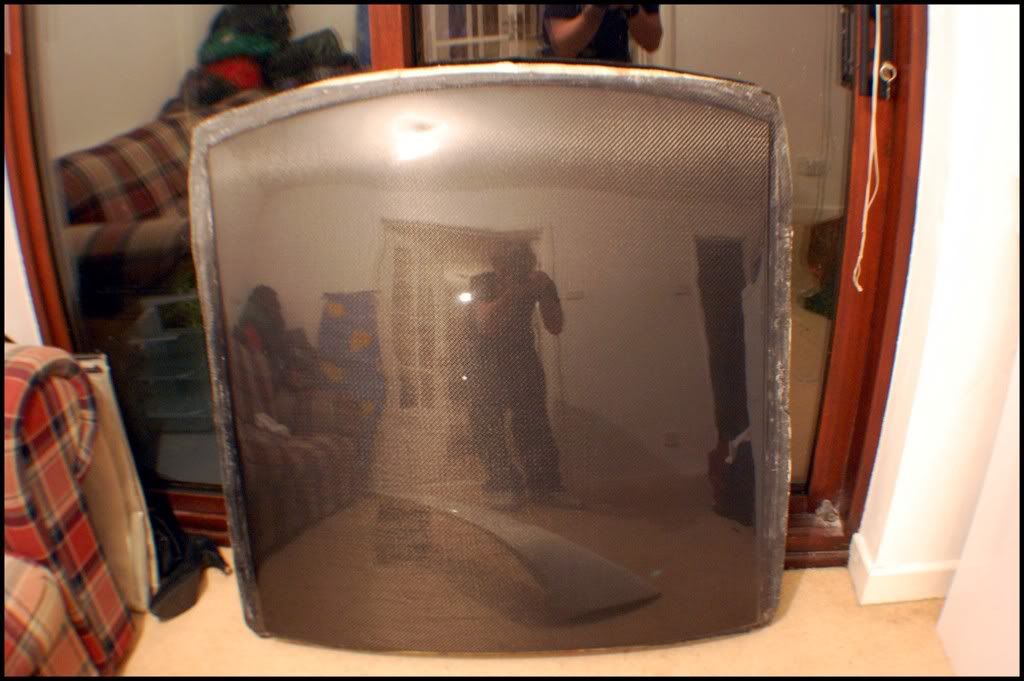
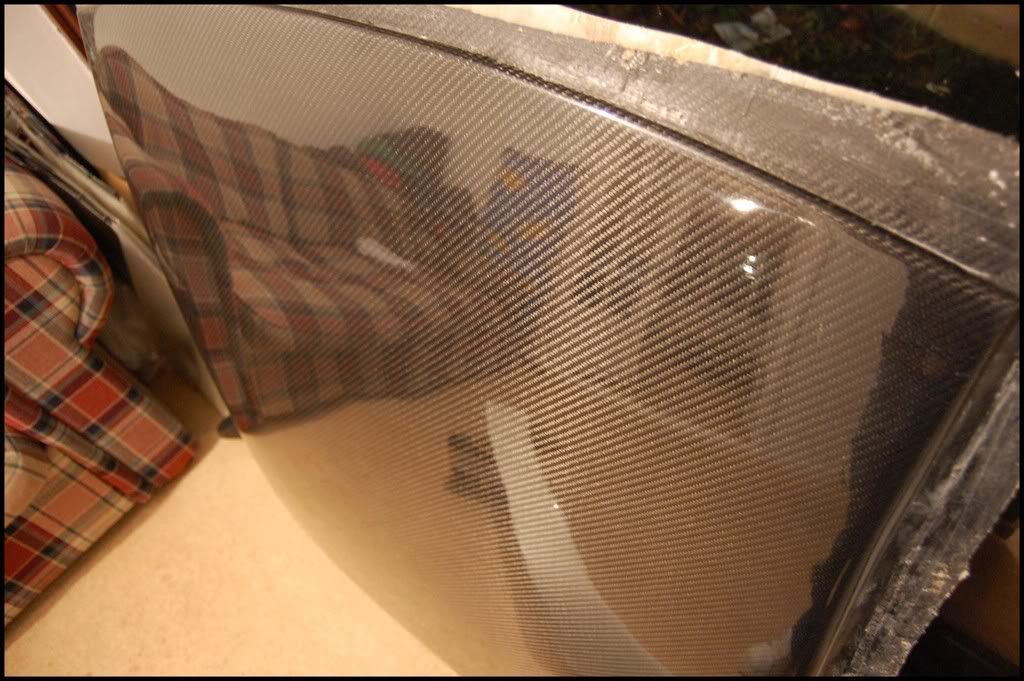
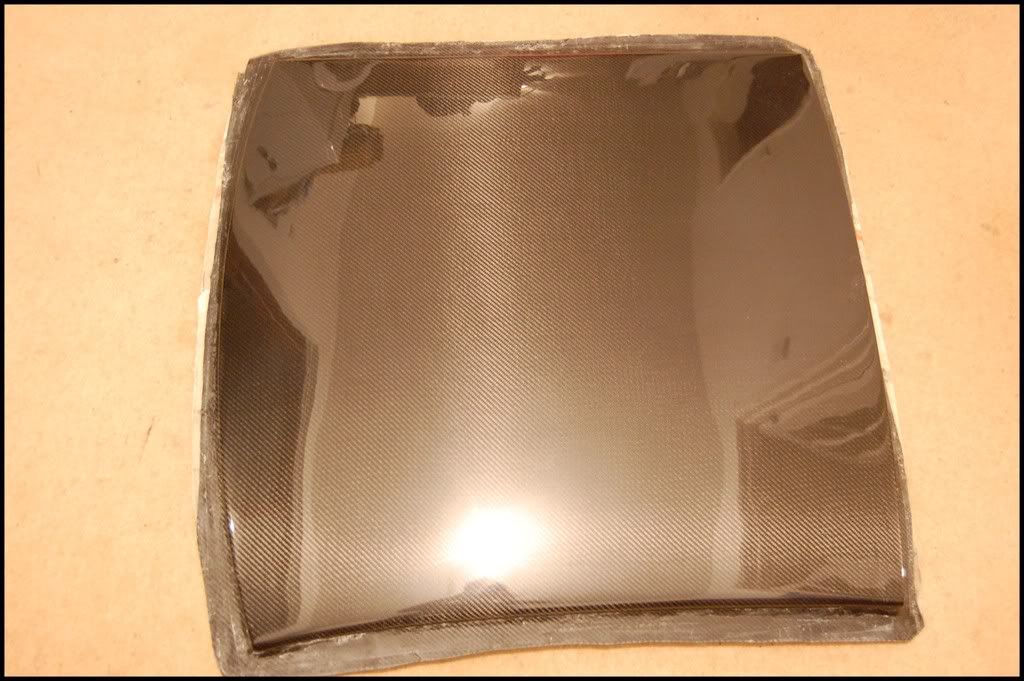

Ja had op K20 al wat vragen gesteld, Als ik m nl hier laat maken, kan ie structureel stress hebben en deel uitmaken van het chassis, maar deze gast kon verder niks vertellen als me verwijzen naar de beschrijving en die zegt dat je m over je oude dak moet lijmen.......leuk.... eindresultaat is dus een zwaardere auto.. die ik hier laat maken vervangt het complete dak ook de stringers eronder en is tig keer zo sterk....en kosten scheelt niet zoveel..bovendien kan ik m dan ook in carbon/kevlar krijgen.. :-)
hontec wrote:Ja had op K20 al wat vragen gesteld, Als ik m nl hier laat maken, kan ie structureel stress hebben en deel uitmaken van het chassis, maar deze gast kon verder niks vertellen als me verwijzen naar de beschrijving en die zegt dat je m over je oude dak moet lijmen.......leuk.... eindresultaat is dus een zwaardere auto.. die ik hier laat maken vervangt het complete dak ook de stringers eronder en is tig keer zo sterk....en kosten scheelt niet zoveel..bovendien kan ik m dan ook in carbon/kevlar krijgen.. :-)
is idd niet een vervangend deel, maar erover-heen-plak-autostyle-achtig-dak, komt van drycarbonparts usa, en is niet zo heel duur..
FastFWD wrote:hontec wrote:Ja had op K20 al wat vragen gesteld, Als ik m nl hier laat maken, kan ie structureel stress hebben en deel uitmaken van het chassis, maar deze gast kon verder niks vertellen als me verwijzen naar de beschrijving en die zegt dat je m over je oude dak moet lijmen.......leuk.... eindresultaat is dus een zwaardere auto.. die ik hier laat maken vervangt het complete dak ook de stringers eronder en is tig keer zo sterk....en kosten scheelt niet zoveel..bovendien kan ik m dan ook in carbon/kevlar krijgen.. :-)
is idd niet een vervangend deel, maar erover-heen-plak-autostyle-achtig-dak, komt van drycarbonparts usa, en is niet zo heel duur..
neuh, niet duur en niet echt...... 8)
Lost some sleep the last few days irritating myself about the fact that I wanted my trailing arm to look like a reinforced oem arm and not like a fabbed up arm that just meets it's goal.
I know that most of the people would tell me to shut up and that it serves it's purpose and that it's situated underneath the car and you won't see it.
Well that just doesn't cut it for me, I'm a perfectionist and I need every part of this car to be perfect...shoot me!!!
The fact that irritated me the most was that when I cut out a section to make it shorter, the tapered nature of the arm caused an overlap when welded back together again. I reinforced the arm underneath and will also do that on top, but that would still leave the overlapping welds visible and annoying!
I decided to fill her up with metal and smooth it out so that the original curves of the trailing arm would be restored...
Here you can see the overlap:


Welding on a piece of metal to fill it out:


And smoothed out after all welding was done:


And added a little paint to show the difference before and after:


I know that most of the people would tell me to shut up and that it serves it's purpose and that it's situated underneath the car and you won't see it.
Well that just doesn't cut it for me, I'm a perfectionist and I need every part of this car to be perfect...shoot me!!!
The fact that irritated me the most was that when I cut out a section to make it shorter, the tapered nature of the arm caused an overlap when welded back together again. I reinforced the arm underneath and will also do that on top, but that would still leave the overlapping welds visible and annoying!
I decided to fill her up with metal and smooth it out so that the original curves of the trailing arm would be restored...
Here you can see the overlap:
Welding on a piece of metal to fill it out:
And smoothed out after all welding was done:
And added a little paint to show the difference before and after:

Update February 8
Started today with the rear suspension setup. Have given it a lot of thought and came up with a way to make my porsche G50 transmission fit and keep the construction light. But at the same time cut out the center section to make room for the tranny. At the same time the lower control arm mounting points on the chassis needed to be moved backwards a little over an inch because the AWD trailing arms have these mounting points further back to make room for the CV-joint. So I re-designed the whole rear setup.
Began with building up sections of the rear cage mounting points and from there on creating a structure to give strength to the rear mounting points and as a base for the rear part of the cage.
Started with 2 pieces of 70mm tube, pressed to an oval shape and welded to the strut towers:


Then connected both with a 40mm tube to form a strut brace:


Then I extended the tubing to the end of both rear oem beams:


Then I started to remove the 2 suspension stubs in order to place them more to the rear and box them in for strength.
Before modification:


After the modification:


Then mocked up both rear boxed up mounting points with the oem lower tie bar installed, this tie-bar still fits even with the porsche G50 installed:


Then welded them in place and started re-inforcing them with tubing. These last pictures are of the situation how I ended today, It's about halfway finished and needs some more boxing in/detailing/and cleaning up..:


Started today with the rear suspension setup. Have given it a lot of thought and came up with a way to make my porsche G50 transmission fit and keep the construction light. But at the same time cut out the center section to make room for the tranny. At the same time the lower control arm mounting points on the chassis needed to be moved backwards a little over an inch because the AWD trailing arms have these mounting points further back to make room for the CV-joint. So I re-designed the whole rear setup.
Began with building up sections of the rear cage mounting points and from there on creating a structure to give strength to the rear mounting points and as a base for the rear part of the cage.
Started with 2 pieces of 70mm tube, pressed to an oval shape and welded to the strut towers:
Then connected both with a 40mm tube to form a strut brace:
Then I extended the tubing to the end of both rear oem beams:
Then I started to remove the 2 suspension stubs in order to place them more to the rear and box them in for strength.
Before modification:
After the modification:
Then mocked up both rear boxed up mounting points with the oem lower tie bar installed, this tie-bar still fits even with the porsche G50 installed:
Then welded them in place and started re-inforcing them with tubing. These last pictures are of the situation how I ended today, It's about halfway finished and needs some more boxing in/detailing/and cleaning up..:
OK, here's a sneak peek of how it will approximately look, once again; it is not done but this side is nearing completion. I will box up some more sections and I still need to further weld/box up the lca mountingpoint. I will continue with the other side tomorrow, ran out of welding gas today.....
When I'm done with the welding, I will media blast the whole cage/interior before priming.


When I'm done with the welding, I will media blast the whole cage/interior before priming.


vtecmoon wrote:very inspiring indeed, but wonder how much the cage weights? Must be a pretty heavy construction you built there?
de hele kooi weegt minder dan het interieur dat eruit kwam, plus dat ik nog stukken uit de bodem heb gezaagd die ook best zwaar zijn. al zou dit al met al iets meer wegen dan heb ik dat liever omdat in feite de shell van een dc2 niet gebaseerd is op RWD en zeker niet op ongeveer 350+ pk RWD...en ik m zo rigid mogelijk wil hebben.


